
Start Assessing Better

Adding Pre-Builts Tests to Your Test Library
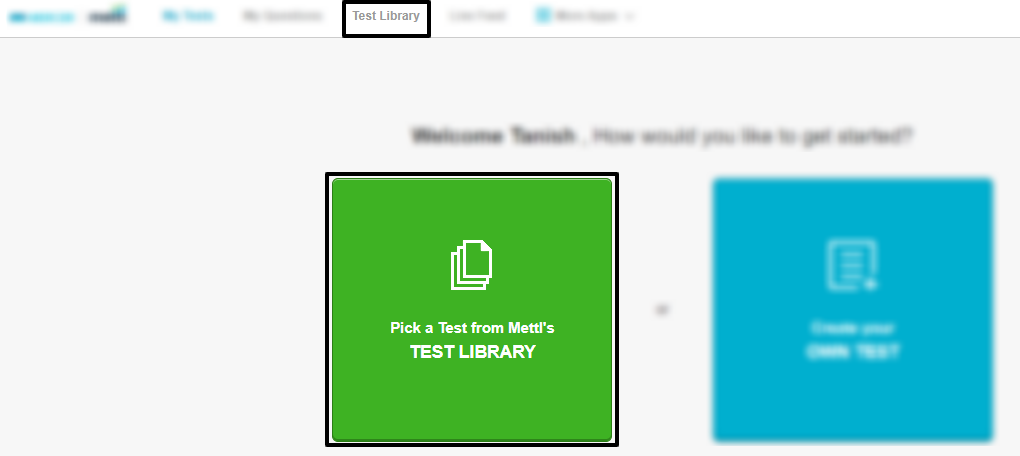
Click on the ‘Test Library’ button located at the top bar. Also, if you are logging in to your account for the first time or have no assessments in your library, you can click on ‘Pick a Test from Mettl’s TEST LIBRARY’.
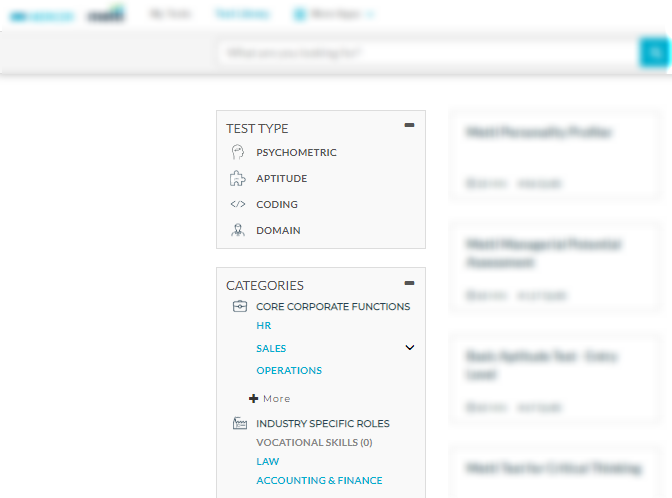
Under the Test Library section, the tests are categorized under different types (Psychometric, Quantitative Aptitude, Coding and Domain) and job families.
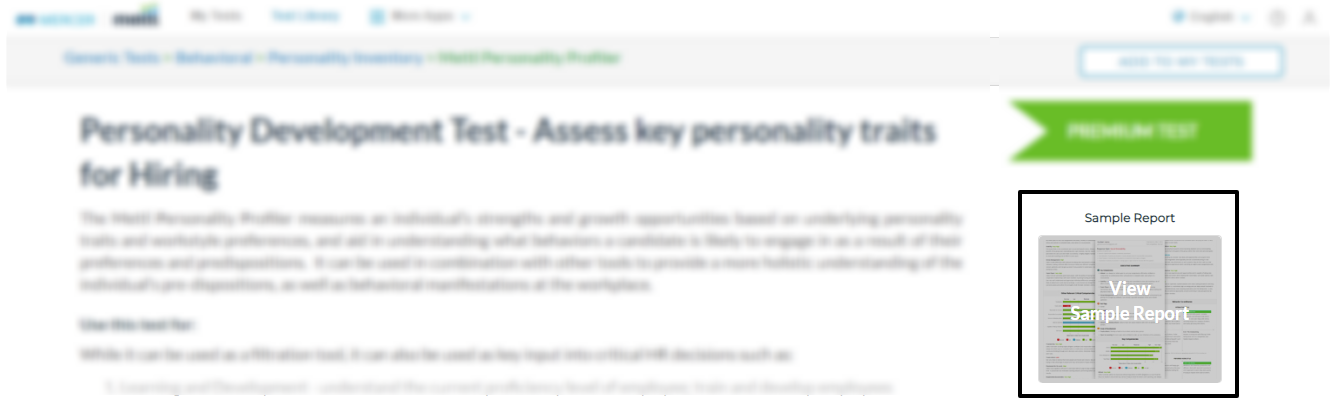
After clicking on the chosen test, you can:
- View test details such as test description, composition, duration, language, number of questions, etc.
- View the test’s sample report by clicking on the ‘View Sample Report.
- In some tests, you can preview the questions by clicking on ‘PREVIEW TEST’.
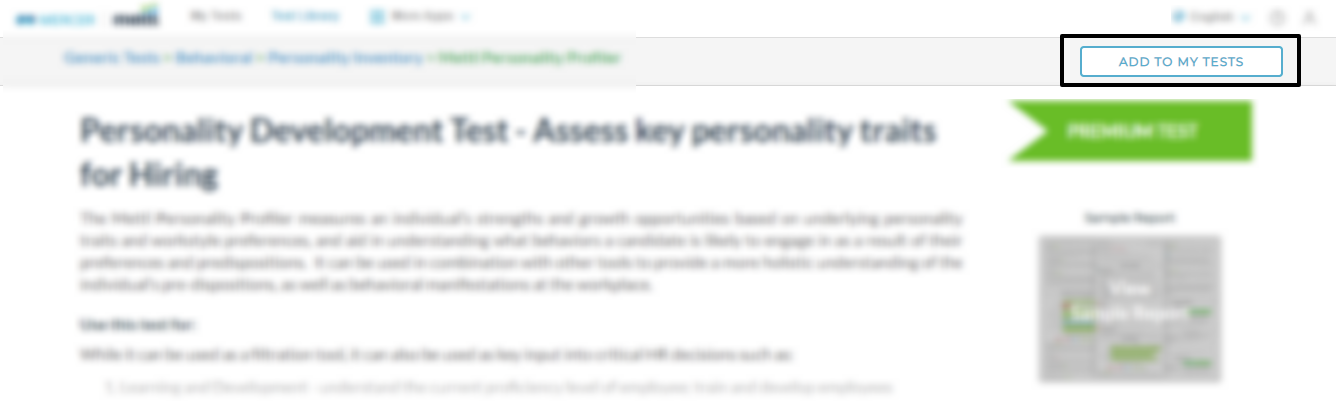
- You can add the test onto your account by clicking on ‘ADD TO MY TESTS’.
Click on the ‘My Tests’ option to view the pre-built test added to your account. To remove a test from the test library, click on the vertical ellipsis button and click on ‘Delete Test’.
A blue strip will appear at the top of the pre-built test added to your account. This differentiates the pre-built test from other tests. Note: You cannot view or alter the composition of the pre-built test.

Share Test Link with Candidates
Click the Test Link(s) icon at the test tile’s bottom-right corner to open the scheduler.
Access Time is the duration for which the test link is active, during which only the candidates can attempt the assessment.
- Any Time indicates that the candidates can attempt the test at any time.
- Click on Any Time and select the start and end date and time to restrict the duration for which the test link is active.

- Slot-wise sets a specific period during the day(s) for which the test link will remain active.

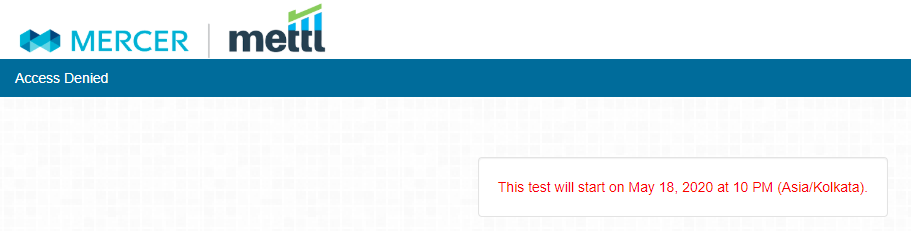
- Note: An error message will be displayed whenever someone tries to attempt the test outside the set access time.
- Time Zone: To set the time zone of the access time.
Proctoring/Secure Test Settings:
Mettl Secure Browser (Beta): This is a custom browser that temporarily lockdowns the computer to prevent the use of unauthorized resources during a test by controlling access to system functions, websites and applications. Please click here to read further(Link).
Note: This option is more suited for high-stakes tests. It is also recommended that the candidates install the browser before taking the test.
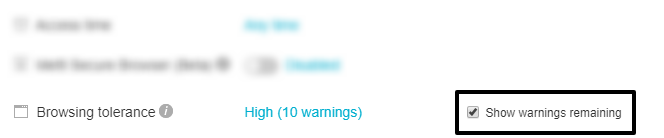
Browsing tolerance: Browsing tolerance keeps track of the number of times a candidate navigates away from the test window, wherein a warning is displayed to them each time they do so.
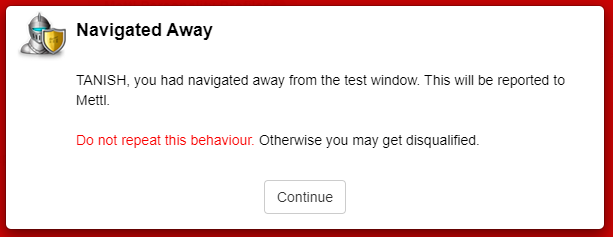
Candidate’s view
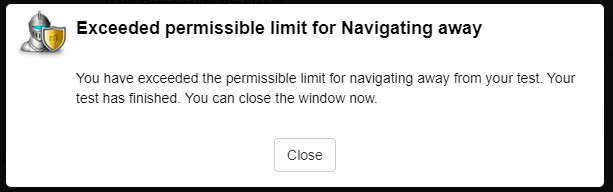
After clicking on ‘Not Applicable’, you can set a limit on the number of warnings beyond which the test would be terminated.
Candidate’s view
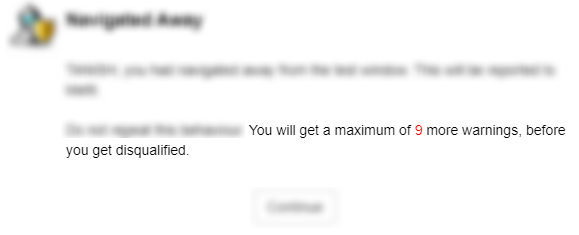
Show Warnings Remaining displays the remaining number of warnings to the candidate, after which their test would be terminated.
Candidate’s view
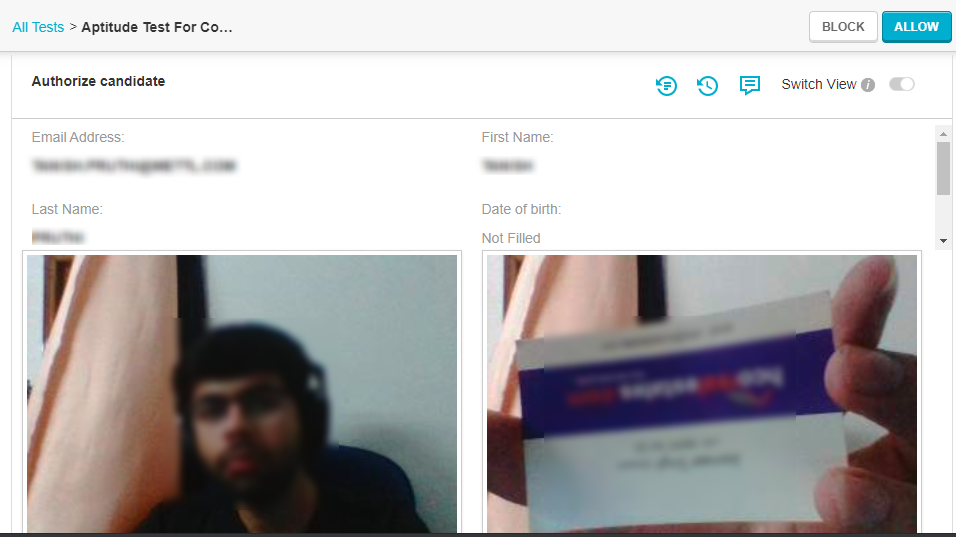
Advanced Visual Proctoring: This option enables AI-based auto proctoring, which monitors the candidate via their webcam and microphone.
The candidate will be asked to capture a photo of their face and ID proof before the test commences.
Candidate’s view
If you wish to manually authorize the candidates based on their submitted details and not automatically let them proceed to the test, click on Candidate Authorization.
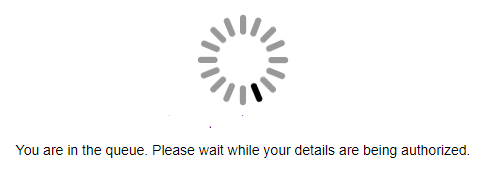
Candidate’s view after submitting their details.
The test report would contain periodic webcam snapshots of the test-taker while attempting the test and provide timestamps on the recording timeline whenever a suspicious activity is detected.
- Capture Candidate Screen: This enables capturing periodic screenshots of the test-taker’s screen while attempting the test.
Note: You will be charged extra for proctored tests. Kindly contact your account manager for more information.
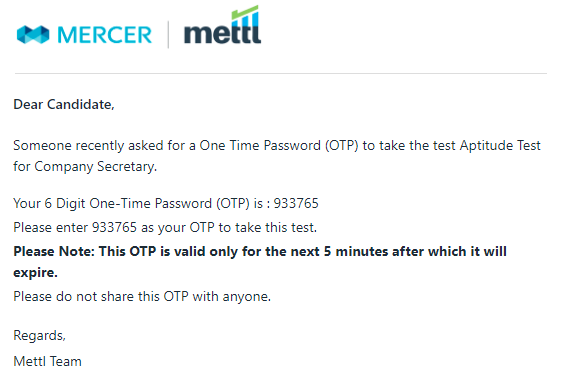
OTP Protected: The test-takers will have to enter the OTP sent to their email address to begin the test. The generated OTP is valid for 5 minutes.


Individual Link Sharing vs. Bulk Link Sharing
After configuring the appropriate test link settings, anyone with whom you share the test link from ‘Link to Share’ can attempt the test within the set access time.
Click on ‘Private access only’ to restrict the test-takers who can attempt the test.

- You can individually add test-takers by entering their details, such as names and email addresses. To add another test-taker, click on “ADD MORE CANDIDATES+”.
- To share the test link with a group of test-takers instead of adding them individually, click on “IMPORT FROM CANDIDATE GROUPS”.
- After clicking on the ‘SHARE LINK,’ an invitation email will be sent to the candidates with the test details such as its name, duration, access time (if enabled), etc. You can add custom messages to the invitation email by clicking on ‘Preview’ and entering the text in the provided optional message area.
Note: A test-taker’s email address can be used only once to attempt a test using a particular test link to prevent its misuse. To allow the test-taker to reattempt the same test, click on ‘Generate Another Link,’ name the new link and click on ‘GENERATE.’ Configure the link settings as mentioned above and share the test link with the candidates.
If you possess all the candidate details and want them to be pre-prefilled, i.e., they only have to enter their email address to proceed to the test, click on ‘Candidate details – Prefilled’ and enter their details.
Unchecking ‘Send email notification’ will render the bottom-most right button to ‘PROVIDE ACCESS,’ clicking which invitation emails will not be sent to the test-takers. In this case, you can either manually share the test link with the test-takers or ask them to visit tests.mettl.com and enter the alphanumeric invitation key, which is a part of the test link. For example- Invitation key.

How to find the invitation key in a test link
‘PAUSE ACCESS’: This will deactivate the current test link. The candidate will not be able to attempt the test unless the test link is made active again by clicking on ‘UNPAUSE ACCESS.’
How to create a candidate group:
- Click on ‘Account Settings’ >> ‘Manage Candidates’ (GIF).
- Download the uploadable Excel template by clicking on ‘CANDIDATE UPLOAD TEMPLATE.’
- Open the downloaded Excel and fill in the test-taker’s details.
Note: The email address and first name are mandatory for every candidate. - After clicking on ‘ADD CANDIDATE BANK,’ enter the name that you would like for the candidate bank and click on ‘ADD.’
- After clicking on ‘VIEW CANDIDATES’ on the next page, click on ‘BULK UPLOAD CANDIDATES.’
- Click on ‘Choose File’ and ‘Upload’ to upload the updated Excel template. Kindly update the sheet and re-upload it if an error is displayed.
- You can also add individual candidates to banks. After the first step, click on ‘VIEW CANDIDATES’ corresponding to the bank name to which you want to add the candidates. Click on ‘ADD NEW CANDIDATE’ and fill in the candidate details.
 +91-9555-11-4444
 contact@mettl.com


